How to Replace Ford F150 EcoBoost Spark Plugs Yourself and Save Money
Skip the Dealer and Do It Yourself
Taking your Ford F150 to the dealer for a spark plug replacement is expensive.
Labour costs alone can run into hundreds of dollars for a job you can handle yourself in your driveway.
This guide walks you through the full process, based on the detailed walkthrough shared by Guy of All Trades in his highly regarded Ford F150 EcoBoost spark plug replacement video.
Whether you are a seasoned home mechanic or picking up a wrench for the first time, this job is more straightforward than it looks.
You just need the right information and a little patience.
Why Spark Plugs Matter on the EcoBoost Engine
The Ford F150 EcoBoost engine is a turbocharged powerplant that works hard.
It produces serious power from a relatively small displacement, which means the ignition system is under constant demand.
Worn spark plugs affect fuel economy, acceleration, and overall engine smoothness.
Ford typically recommends replacing spark plugs on the EcoBoost every 60,000 miles, though some owners do it sooner.
Ignoring them long enough can lead to misfires, rough idling, and a check engine light that refuses to go away.
Replacing them on schedule keeps your engine running the way it should.
Choosing the Right Spark Plugs for Your Ford F150 EcoBoost
This is one of the most important decisions in the whole process.
Ford fits the EcoBoost with OEM spark plugs from the factory, and those work fine.
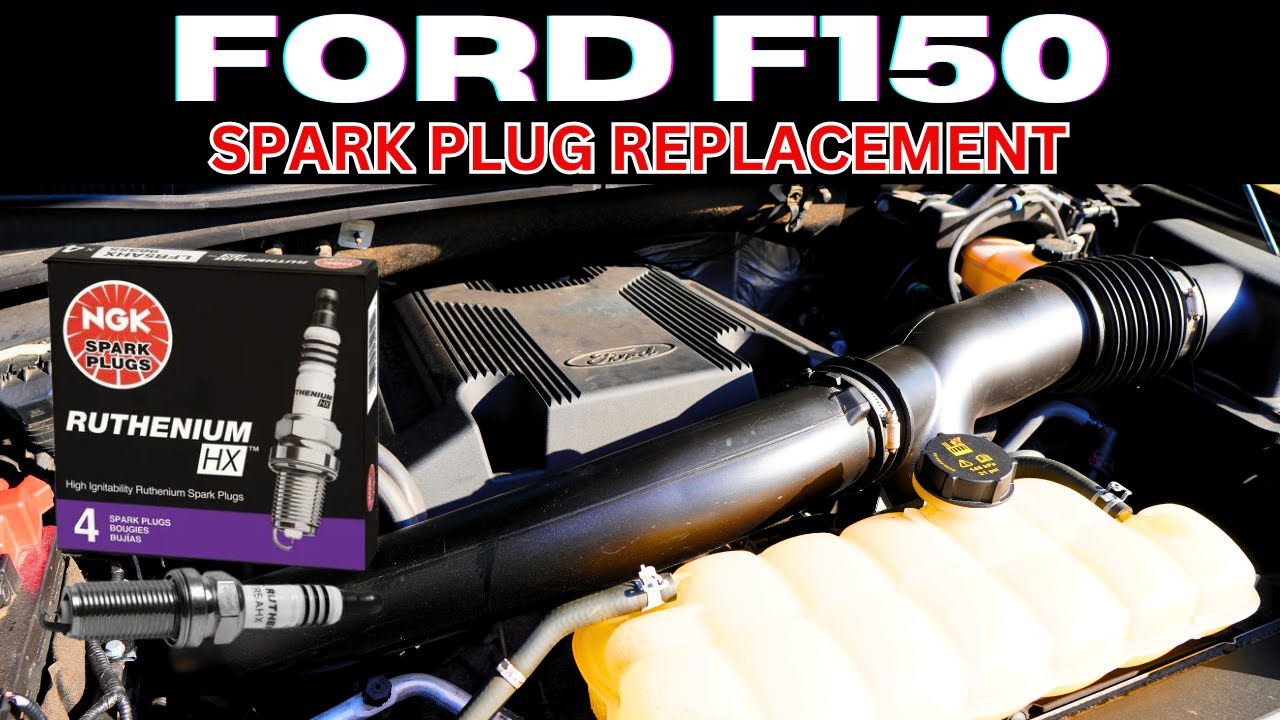
However, Guy of All Trades chose to go with NGK Ruthenium spark plugs instead, and for good reason.
NGK is a trusted brand with a strong reputation in the automotive world.
Ruthenium is a platinum-group metal that offers excellent durability and consistent spark performance.
According to the video, the NGK Ruthenium plugs perform just as well as the stock Ford plug, if not better.
They are also competitively priced, which makes them an attractive option.
What About Iridium Spark Plugs?
Iridium plugs are another popular choice for the EcoBoost engine.
They have a very fine electrode tip that produces a strong, consistent spark.
Both NGK Ruthenium and iridium plugs are solid upgrades over basic copper plugs.
For a turbocharged engine like the EcoBoost, either option is a step in the right direction.
The key is to avoid cheap, low-quality plugs that may not handle the demands of forced induction.
Tools You Will Need
Getting your tools together before you start saves time and frustration.
Here is what you will typically need for this job:
- A spark plug socket (usually 9/16 inch for the EcoBoost)
- An extension bar for your ratchet
- A torque wrench to tighten plugs to the correct setting
- A spark plug gap tool or feeler gauge
- Dielectric grease for the coil boots
- Compressed air to clear debris before removing plugs
Having everything laid out before you begin keeps the workflow clean and avoids trips back to the toolbox mid-job.
Removing the Engine Cover
The first step is removing the engine cover.
On the Ford F150 EcoBoost, this is a straightforward process.
The cover typically pulls straight up and off with a firm, even tug.
No tools are required for this part.
Once it is off, you have clear access to the top of the engine and the ignition coils sitting over each spark plug.
Take a moment to look at the layout before diving in.
It helps to understand which side you are working on and where each coil is positioned.
How to Remove the Spark Plugs
The video covers the driver side removal in detail, starting around the 0:32 mark.
The process on the passenger side follows the same steps.
Step One: Disconnect the Ignition Coil
Each spark plug sits beneath an individual ignition coil pack.
Disconnect the electrical connector on the coil first.
Then remove the bolt holding the coil in place and pull the coil straight out.
Be gentle but firm — the coil boot can stick to the plug after years of heat cycling.
Step Two: Clear the Well
Before removing the plug, blow out any dirt or debris sitting in the plug well with compressed air.
This stops contaminants from falling into the cylinder when the plug comes out.
It is a small step that makes a big difference.
Step Three: Remove the Old Plug
Thread your spark plug socket onto the extension and ratchet.
Place it over the plug and turn counter-clockwise to loosen.
Once loose, use your fingers or a magnetic socket to pull the plug out cleanly.
Inspect the old plug as you remove it — the condition of the electrode and insulator tells you a lot about how the engine has been running.
Setting the Proper Spark Plug Gap
Gapping your spark plugs correctly is critical on a turbocharged engine.
The gap is the distance between the centre electrode and the ground electrode.
Too wide and the ignition system struggles to fire the plug reliably under boost.
Too narrow and combustion efficiency drops.
For the Ford F150 EcoBoost, the recommended gap is typically around 0.028 to 0.030 inches, though always confirm this against your specific model year and plug manufacturer specifications.
NGK Ruthenium plugs often come pre-gapped, but it is always worth checking with a feeler gauge before installation.
The video dedicates a section to this starting at the 3:45 mark, walking through how to check and adjust the gap correctly.
Torque Settings for Spark Plug Installation
Over-tightening a spark plug can crack the ceramic insulator or damage the threads in the cylinder head.
Under-tightening can cause the plug to loosen over time, which is equally problematic.
Use your torque wrench and tighten to the manufacturer-specified setting.
For the EcoBoost, this is generally around 13 ft-lbs, but always verify for your specific engine variant.
Thread the plug in by hand first to avoid cross-threading, then bring it to torque with the wrench.
The video covers the correct torque setting briefly at the 5:18 mark, reinforcing just how important this step is.
Reassembly and Final Checks
Once all plugs are in and torqued correctly, reinstall each ignition coil pack.
Apply a small amount of dielectric grease to the inside of the coil boot before seating it over the plug.
This makes future removal easier and protects the boot from heat damage.
Reconnect the electrical connectors on each coil, then refit the engine cover.
Start the engine and let it idle for a moment.
Listen for any misfires or rough running — if everything sounds smooth, the job is done.
Key Takeaways
- Replacing Ford F150 EcoBoost spark plugs yourself saves significant money compared to dealer pricing.
- NGK Ruthenium spark plugs are a reliable, high-quality alternative to the OEM Ford plugs.
- Always gap your plugs correctly before installation — around 0.028 to 0.030 inches for most EcoBoost applications.
- Use a torque wrench and tighten to spec — approximately 13 ft-lbs — to avoid damage to the cylinder head.
- Clear debris from the plug wells before removal to keep the cylinders clean.
- Apply dielectric grease to coil boots during reassembly for easier future servicing.
- The full process is covered in detail by Guy of All Trades in his Ford F150 EcoBoost spark plug replacement video.
Conclusion: A Simple Job Worth Doing Yourself
Spark plug replacement on the Ford F150 EcoBoost is one of the most accessible DIY maintenance jobs you can tackle.
It requires basic tools, a bit of time, and careful attention to torque and gap settings.
The savings over dealer labour costs make it well worth the effort.
Head over to the Guy of All Trades YouTube channel and watch the full video for a visual walkthrough of every step covered here.
Seeing the process in action makes it even easier to follow along in your own garage.
Get your NGK Ruthenium plugs, gather your tools, and give your EcoBoost the fresh ignition it deserves.
This article is based on the video The Best Ford F150 Ecoboost Spark Plug Replacement Video by Guy of All Trades.